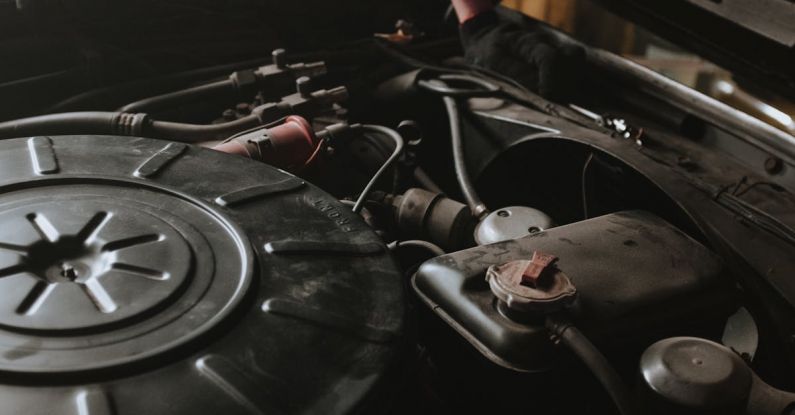
Performing a Simple Car Diagnostic Test
As a car owner, knowing how to perform a simple diagnostic test on your vehicle can save you time and money. By identifying potential issues early on, you can prevent more significant problems down the road. In this article, we will guide you through the steps of conducting a basic car diagnostic test that can help you pinpoint common issues.
Understanding the Basics of Car Diagnostics
Before diving into the diagnostic process, it’s essential to have a basic understanding of how a car works. Your vehicle’s onboard diagnostic system (OBD) is responsible for monitoring various components and systems to ensure they are functioning correctly. When a problem arises, the OBD system will trigger a warning light on your dashboard, indicating an issue that needs attention.
Checking for Warning Lights
The first step in performing a car diagnostic test is to check for any warning lights on your dashboard. Start by turning the ignition key to the “on” position without starting the engine. Look for any illuminated symbols such as the check engine light, ABS light, or battery light. Each light corresponds to a specific system in your vehicle that may be experiencing a problem.
Using a Diagnostic Tool
If you notice any warning lights or suspect an issue with your car, the next step is to use a diagnostic tool to retrieve error codes. These diagnostic tools, also known as OBD scanners, are readily available for purchase at auto parts stores or online. Simply plug the OBD scanner into the port located under the dashboard on the driver’s side and follow the instructions to retrieve the error codes.
Interpreting Error Codes
Once you have retrieved the error codes using the diagnostic tool, it’s time to interpret them. Each code corresponds to a specific problem or issue with a particular component or system in your vehicle. You can refer to the scanner’s manual or look up the codes online to determine the underlying cause of the warning light. This information will help you pinpoint the issue and decide on the necessary steps to address it.
Inspecting Fluid Levels
In addition to using a diagnostic tool, it’s essential to perform a visual inspection of your vehicle’s fluid levels. Low or contaminated fluids can lead to various problems, including engine overheating, poor performance, and component failure. Check the levels of engine oil, transmission fluid, coolant, brake fluid, and power steering fluid to ensure they are at the recommended levels and free of debris.
Examining Belts and Hoses
Another critical aspect of a car diagnostic test is inspecting the condition of belts and hoses in your vehicle. Over time, belts can wear out, crack, or become loose, leading to issues such as engine stalling or overheating. Similarly, hoses can develop leaks or cracks, causing fluid leaks and system malfunctions. Check the condition of belts and hoses regularly and replace them if necessary to prevent costly repairs.
Testing Electrical Components
Lastly, testing the electrical components of your vehicle is crucial in conducting a comprehensive diagnostic test. Check the condition of the battery, alternator, and starter to ensure they are functioning correctly. A weak battery or faulty alternator can cause starting issues or electrical malfunctions, while a failing starter may prevent your car from starting altogether. Test these components using a multimeter to verify their performance.
Summarizing Tips for a Successful Car Diagnostic Test
In conclusion, performing a simple car diagnostic test can help you identify potential issues with your vehicle before they escalate into more significant problems. By checking for warning lights, using a diagnostic tool, interpreting error codes, inspecting fluid levels, examining belts and hoses, and testing electrical components, you can keep your car running smoothly and avoid costly repairs. Regular maintenance and proactive diagnostics are key to ensuring the longevity and reliability of your vehicle.


