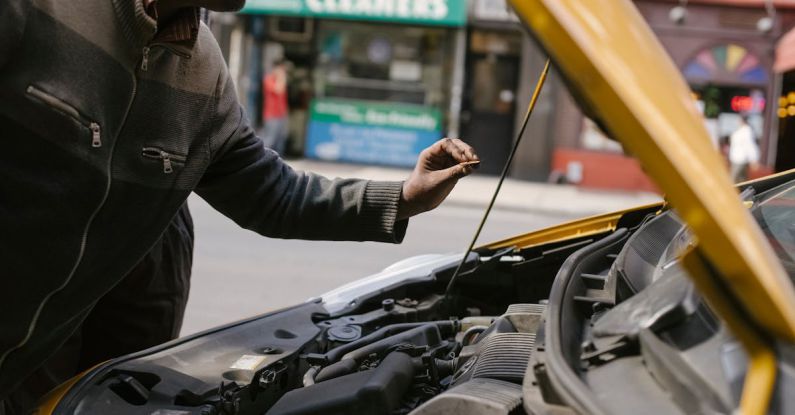
Car electrical repairs can be intimidating for many DIY enthusiasts, but with the right knowledge and tools, it’s possible to tackle some common issues on your own. Understanding the basics of DIY car electrical repairs can save you time and money, as well as give you a sense of accomplishment. From diagnosing electrical problems to making repairs, here are the fundamental steps to help you get started.
Diagnosing Electrical Issues
The first step in any DIY car electrical repair is diagnosing the problem. When you encounter an electrical issue, such as a dead battery, malfunctioning lights, or a faulty starter, it’s essential to determine the root cause before attempting any repairs. Start by checking the fuse box for any blown fuses, as they are often the culprit behind electrical failures. Use a multimeter to test the continuity of the fuses and determine if they need to be replaced.
Testing the Battery
One of the most common electrical problems in cars is a faulty battery. If your car is having trouble starting or you notice dimming lights, it may be time to test the battery. You can use a voltmeter to check the voltage of the battery. A healthy battery should read around 12.6 volts. If the voltage is significantly lower, it’s a sign that the battery may need to be replaced.
Inspecting Wiring and Connections
Loose or corroded connections can cause electrical issues in your car. Inspect the wiring and connections around the battery, fuse box, and starter to ensure everything is secure and free of damage. Look for frayed wires, loose terminals, or signs of corrosion, as these can disrupt the flow of electricity in your vehicle. Use a wire brush to clean any corrosion and tighten any loose connections to improve electrical conductivity.
Replacing Electrical Components
If you have identified a faulty component during your diagnosis, such as a bad alternator or starter, you may need to replace it to solve the issue. Before replacing any parts, make sure to disconnect the battery to prevent any electrical surges. Follow the manufacturer’s guidelines for removing and installing the new component, and double-check all connections before reattaching the battery.
Safety Precautions
When working on car electrical repairs, it’s crucial to prioritize safety. Always wear insulated gloves and eye protection to prevent electrical shocks and injuries. Keep a fire extinguisher nearby in case of emergencies, and work in a well-ventilated area to avoid inhaling harmful fumes. If you’re unsure about a repair or feel uncomfortable working with electricity, it’s best to consult a professional mechanic.
Conclusion: Empowering Yourself with DIY Car Electrical Repairs
By understanding the basics of DIY car electrical repairs, you can take control of your vehicle’s maintenance and save money on repair costs. From diagnosing issues to replacing faulty components, following these fundamental steps can help you troubleshoot common electrical problems in your car. Remember to prioritize safety, use the right tools, and consult reliable resources for guidance. With practice and patience, you can become more confident in handling car electrical repairs on your own.