Maintaining the brakes on your vehicle is a crucial aspect of ensuring your safety on the road. While professional maintenance is recommended, there are several best practices for DIY brake maintenance that can help you keep your brakes in top condition. By following these tips, you can prolong the life of your brakes and ensure optimal performance when you hit the road.
Understanding Your Braking System
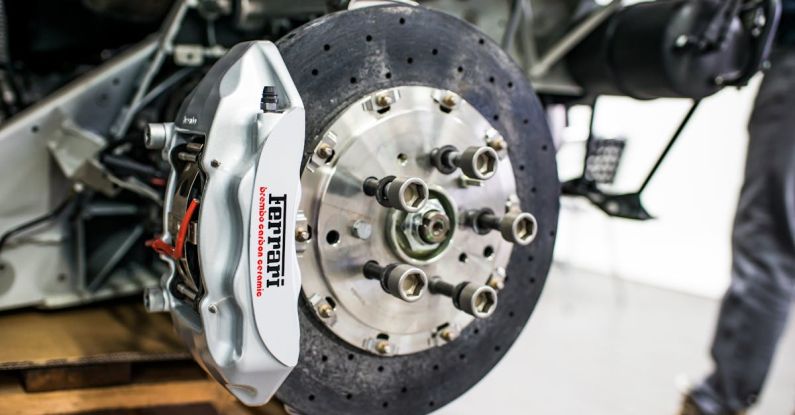
Before diving into DIY brake maintenance, it’s essential to have a basic understanding of how your braking system works. Your vehicle’s braking system consists of several components, including brake pads, rotors, calipers, and brake fluid. The brake pads are the components that press against the rotors to slow or stop your vehicle, while the calipers hold the brake pads in place. Brake fluid is essential for transferring the force from the brake pedal to the brake components.
Regular Inspection
One of the best practices for DIY brake maintenance is to perform regular inspections of your braking system. Start by checking the thickness of your brake pads. If the pads are less than a quarter of an inch thick, it’s time to replace them. Additionally, inspect the rotors for any signs of wear or damage. Warped or grooved rotors can affect braking performance and should be replaced if necessary.
Brake Fluid Check
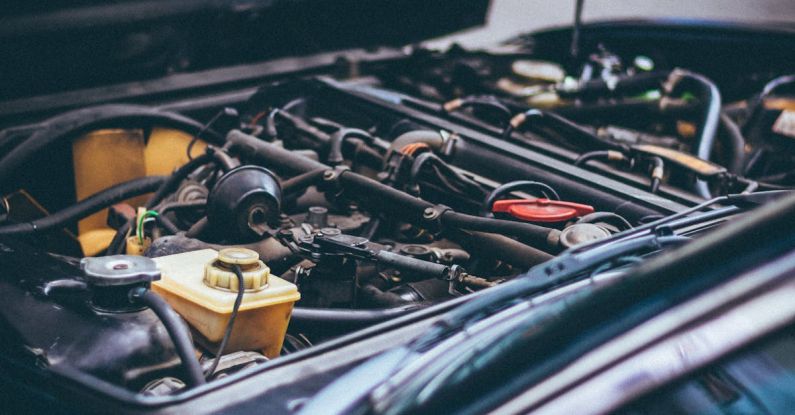
Checking the brake fluid level and quality is another important aspect of DIY brake maintenance. The brake fluid reservoir is typically located under the hood of your vehicle. Ensure that the fluid level is between the minimum and maximum marks on the reservoir. If the fluid is dark or discolored, it may be contaminated and should be flushed and replaced.
Brake Bleeding
Brake bleeding is a process that involves removing air bubbles from the brake lines to ensure proper brake function. Air in the brake lines can lead to a spongy brake pedal and reduced braking performance. To bleed your brakes, you will need a brake bleeder kit and a helper to assist you. Follow the manufacturer’s instructions carefully to bleed the brakes effectively.
Brake Pad Replacement
Replacing the brake pads is a common DIY brake maintenance task that can be done with basic tools. Start by lifting the vehicle and removing the wheels to access the brake components. Remove the caliper bolts and slide out the old brake pads. Inspect the calipers for any signs of damage or wear, and replace them if necessary. Install the new brake pads, reassemble the caliper, and repeat the process for the other wheels.
Rotor Resurfacing or Replacement
If your rotors are worn or damaged, it’s essential to address the issue to maintain optimal braking performance. In some cases, the rotors can be resurfaced to remove imperfections and prolong their lifespan. However, if the rotors are severely worn or warped, it’s best to replace them to ensure safe braking.
Test Your Brakes
After performing any DIY brake maintenance tasks, it’s crucial to test your brakes to ensure they are functioning correctly. Start the vehicle and pump the brake pedal a few times to build up pressure. Then, drive the vehicle at a low speed in a safe area and test the brakes to ensure they are responsive and not making any unusual noises.
Incorporating these best practices for DIY brake maintenance can help you keep your brakes in top condition and ensure your safety on the road. By understanding your braking system, performing regular inspections, checking the brake fluid, bleeding the brakes when necessary, and replacing brake pads and rotors as needed, you can maintain optimal braking performance and prolong the life of your brakes. Remember to test your brakes after any maintenance tasks to ensure they are functioning correctly and address any issues promptly.