
Changing your car’s oil is a crucial maintenance task that can help keep your vehicle running smoothly and efficiently. While many people opt to take their cars to a mechanic for an oil change, it is entirely possible to do it yourself at home with just a few tools and some basic knowledge. Not only can DIY oil changes save you money, but they can also be a rewarding experience for car enthusiasts. In this article, we will guide you through the steps to change your car’s oil at home.
Gather the Necessary Supplies
Before you begin the oil change process, you will need to gather the necessary supplies. Make sure you have the following items on hand:
– New oil filter
– Engine oil recommended by the manufacturer
– Oil filter wrench
– Socket wrench set
– Oil drain pan
– Funnel
– Jack stands or ramps
– Rag or paper towels
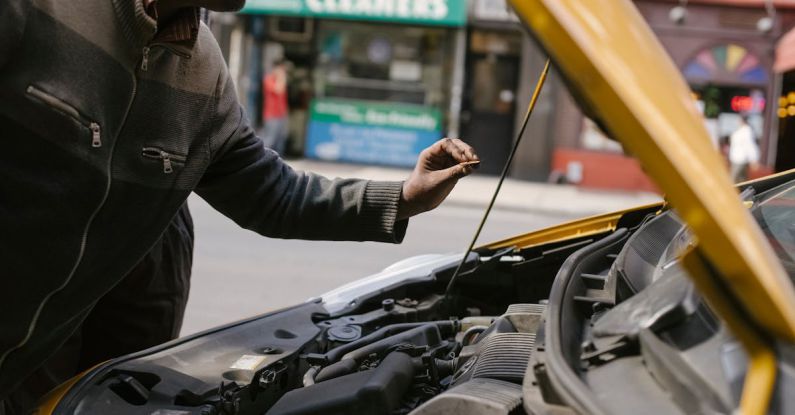
Prepare Your Vehicle
To prepare your car for an oil change, you should first drive it for a few minutes to warm up the engine. This will help the oil flow more easily when you drain it. Then, park your car on a level surface and engage the parking brake. Use jack stands or ramps to elevate the front of the vehicle, ensuring it is secure before sliding underneath.
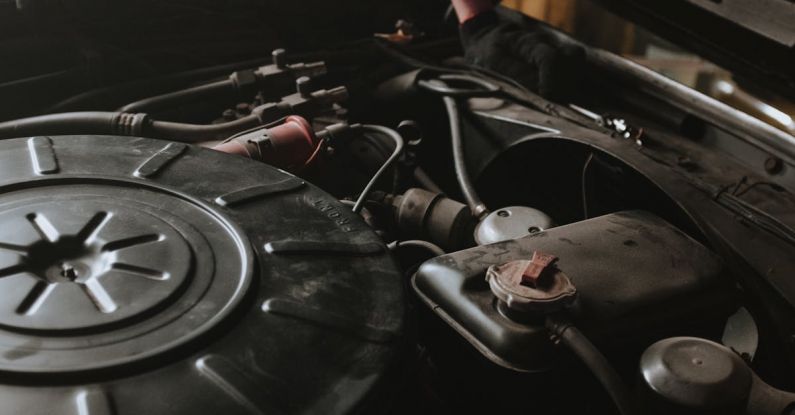
Drain the Old Oil
Locate the oil drain plug underneath the car’s engine. Place the oil drain pan beneath the plug to catch the old oil. Using a socket wrench, carefully loosen the drain plug and allow the oil to drain completely. Be cautious, as the oil may be hot. Once the oil has drained, remove and inspect the old oil filter.
Replace the Oil Filter
Using an oil filter wrench, unscrew the old oil filter in a counterclockwise direction. Make sure to clean the filter housing before installing the new oil filter. Apply a thin layer of oil to the rubber gasket of the new filter to ensure a proper seal. Screw the new oil filter into place by hand, and then tighten it with the oil filter wrench.
Add New Oil
Consult your car’s manual to determine the correct type and amount of oil needed. Use a funnel to pour the new oil into the engine, taking care not to overfill. Once you have added the appropriate amount of oil, replace the oil fill cap securely.
Check for Leaks
After completing the oil change, start the engine and let it run for a few minutes. Check underneath the car for any signs of leaks. If you notice any leaks, turn off the engine immediately and address the issue before driving the vehicle.
Dispose of Old Oil Properly
Once you have finished changing the oil, it is essential to dispose of the old oil properly. Most auto parts stores and some service stations accept used oil for recycling. Never pour old oil down the drain or onto the ground, as it can be harmful to the environment.
Conclusion: Maintain Your Car with Confidence
Changing your car’s oil at home can be a gratifying experience that saves you time and money. By following these steps and taking proper precautions, you can ensure that your vehicle continues to run smoothly and efficiently. With regular oil changes and other routine maintenance tasks, you can keep your car in top condition and enjoy many more miles on the road. So, roll up your sleeves, grab your tools, and take control of your car’s maintenance with confidence!